You’re the proud owner of a new weather station. As soon as you take your weather station out of the box, one of the questions you might ask yourself is: how do I properly site and set up my weather station for the most accurate results? This is a critical question, as the location and setup of your weather have a major impact on accuracy.
In this guide, we’ll show you how to properly site and set up your weather station for accurate measurements. Keep in mind, that you’ll most likely have to make some compromises when it comes to weather station installation.
The Importance of the Perfect Location
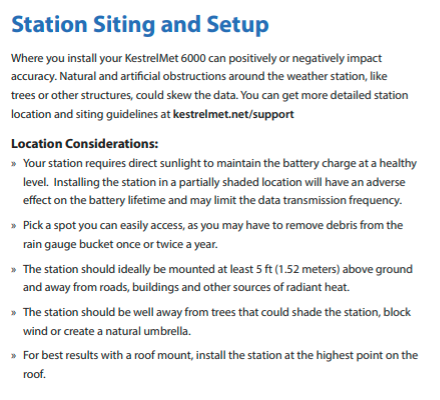
A weather station’s location is critical to its installation. It must be installed in an area where it can accurately obtain data, including wind, rain, humidity, and more. For example, a weather station will not accurately measure rainfall if it is located under a tree or an overhang.
Meanwhile, if it’s positioned in an area between tall obstructions, you may get a wind tunnel effect on the anemometer. This results in erroneous wind data. This is why it’s so important to pick the perfect spot for your new weather station.
What’s the Ideal Spot for a Weather Station?
There are several considerations to think about for an ideal spot. One rule of thumb is that a good distance should be maintained between your weather station and other tall objects. If there are wind and rain obstructions, the weather data will be inaccurate.
However, the perfect spot for your weather station depends on where you live. If you live in the city, you likely won’t have an open field to place your new weather station. Therefore, there are different guidelines in terms of rural vs. suburban placement.
AmbientWeather.com has a helpful Weather Station Siting Video here.
Weather Station Siting Tips
- Place your personal station away from obstructions and things that may interfere with collecting accurate readings.
- Avoid installing onto dark surfaces or surface materials that hold onto heat such as asphalt and concrete.
- Do not install near other sources that could interfere with the sensor readings such as chimneys, air vents, or air conditioners.
- Be mindful of installing too close to rock walls, irrigated lawns, and/or swimming pools.
If you live in a suburban area . . .
Do you have a weather station in a suburban area? This is how to properly site and set up your weather station:
Install the weather station as far as possible from any other buildings, or structures. You’ll also want to keep the weather station away from any heat-producing sources such as air conditioners and chimneys.
Ideally, you’ll want to install the weather station 8-to-10 feet above the roofline. This will get you the best results while avoiding wind and rain obstructions.
If you’re most concerned about measuring temperature and humidity, you can place the weather meter 4-to-6 feet off the ground. The horizontal distance should be 2-to-4 times the nearest object. It’s best to mount the sensor under direct sunlight for the most accurate temperature readings.
Meanwhile, be sure to keep the weather station away from sprinklers and vegetation. This may produce inaccurate humidity results.
If you live in a rural area . . .
Living in a rural area will give you more open space to install your weather station. It’s wise to choose wireless weather stations since you won’t need to worry about running a wire.
The most ideal situation in a rural setting can be achieved with:
- Anemometer at roughly 33 feet above ground level
- The temperature and humidity sensor is 5′ adobe ground level
- The surrounding land is flat
- There is a natural and regionally-representatively surface
- The anemometer mast avoids flexing with a cable stays
If your weather station is all one unit, you will need to compromise on placement. You will want to go about 6 to 7 feet off the ground. While this isn’t ideal for an anemometer, it is an acceptable height. You also need to consider the placement of the rain gauge funnel.
Quick Care Tips:
- Get easy access to the weather station to keep it free from debris
- Clean the rain gauge every few months
- Change the batteries every 2-to-3 years (or more frequently based on data transmission rate)
KestrelMet as Your Personal Weather Station
With an intuitive, hassle-free setup, rugged design, and a built-in own cellular modem, the KestrelMet is one of the top cellular weather stations available. You have the option to add sensors for measuring soil moisture, soil temperature, leaf wetness, and solar irradiance. The KestrelMet 6000 offers the best price point when compared to other professional-grade weather stations. The KestrelMet offers a low-cost data plan from Verizon or ATT with free data the first year. Checkout KestrelMet.com to learn more.
KestrelMet 6000 Weather Station Siting Tips


